Introduction Last updated: 2020-08-03
The following type of websites are possible to host in Amazon S3
Static Website
Angular single page application
React single page applicationThe following type of websites are possible to host in Amazon S3
Static Website
Angular single page application
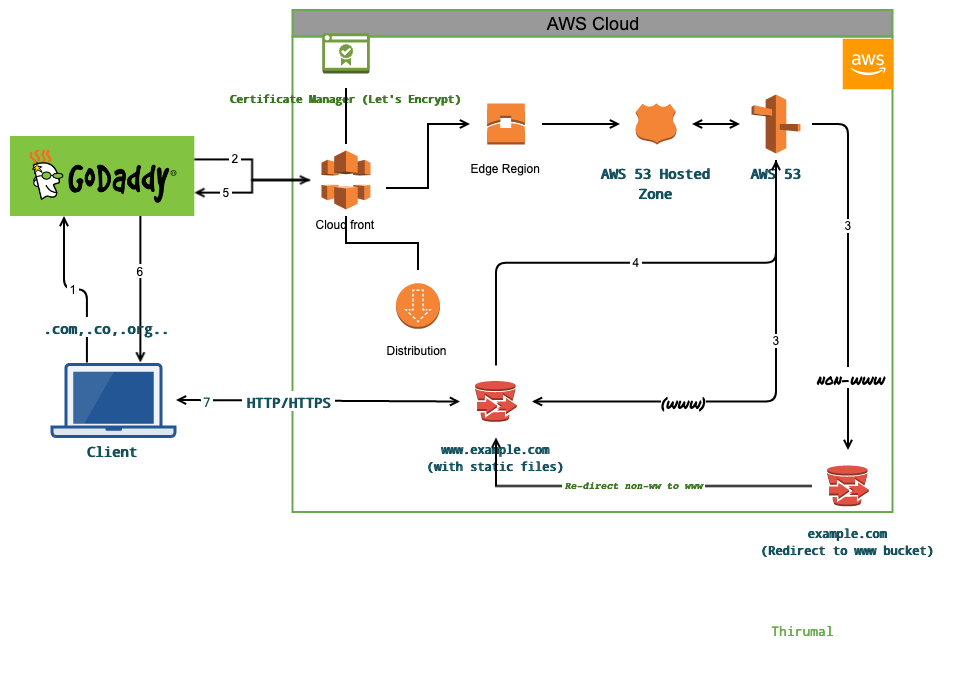
React single page applicationA bucket is a container or a web accessible folder for objects stored in Amazon S3. And this bucket names are unique globally. So, any object URL in an S3 bucket is accessible over the internet with a unique URL, generally structured like this:
https://[region].s3.amazonaws.com/[bucket]example.com
www.example.com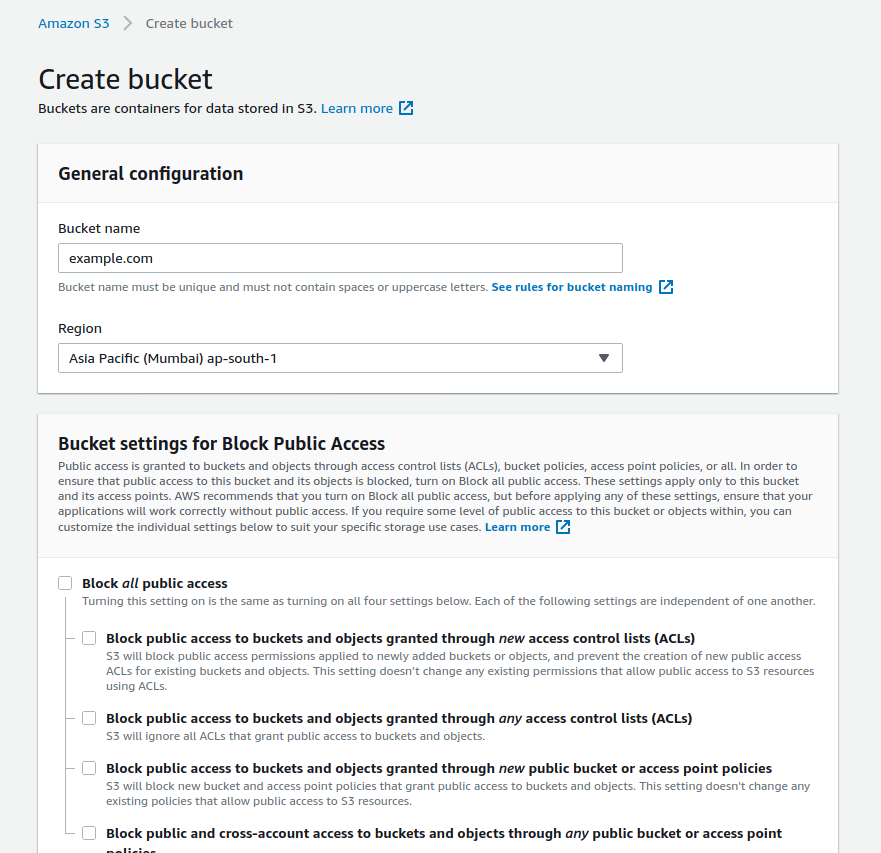
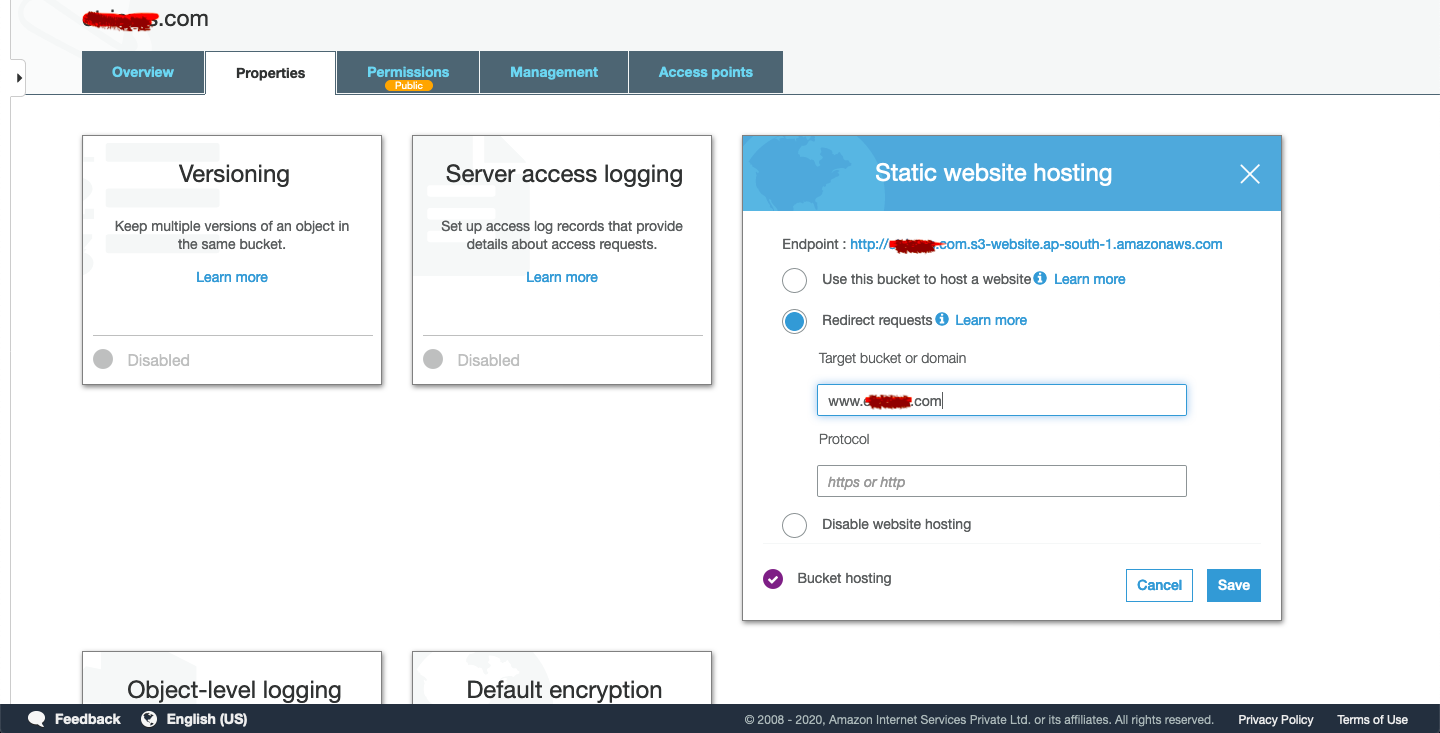
Upload all your web content files to www bucket
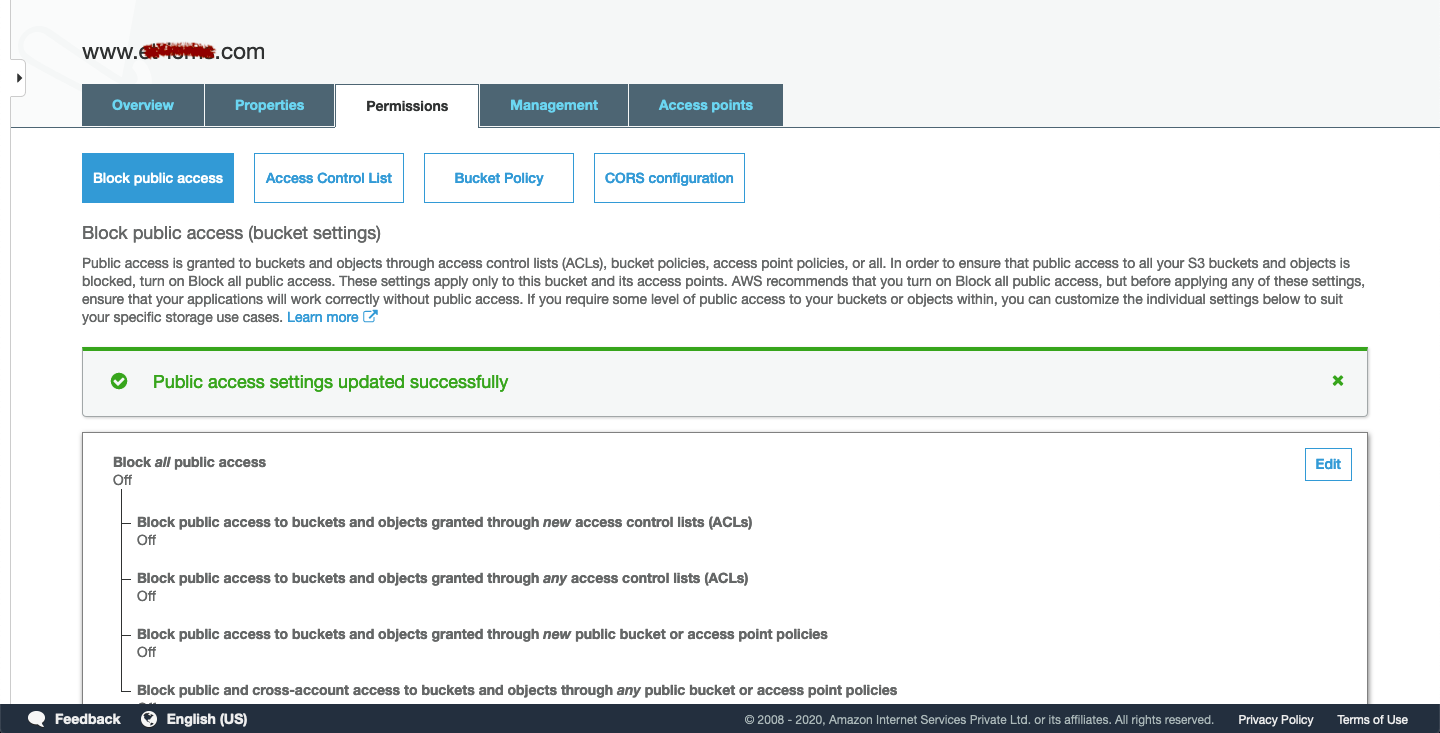
To make bucket public Go to -> Permission -> Un-check "Block All" public access
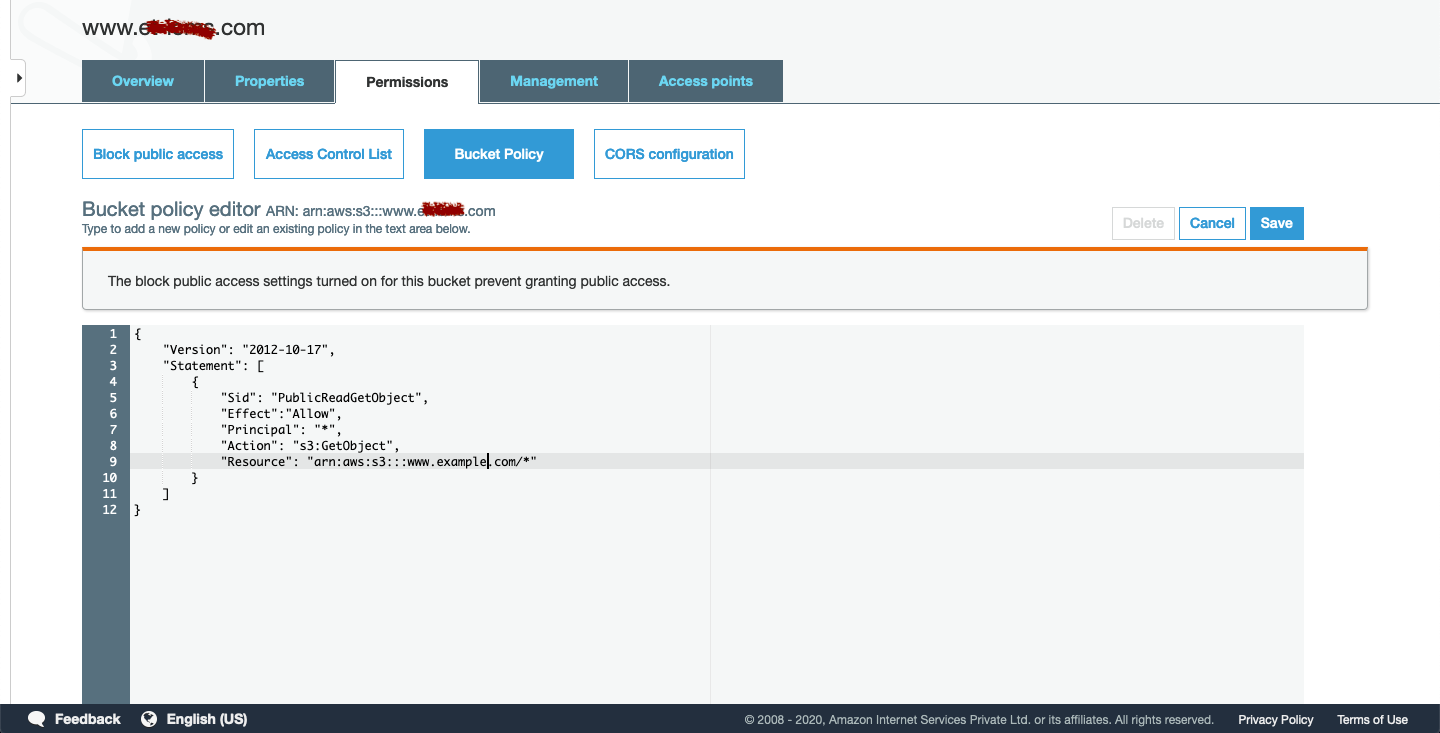
Next, add the policy to the bucket in Bucket policy
{
	"Version": "2012-10-17",
	"Statement": [
		{
			"Sid": "PublicReadGetObject",
			"Effect":"Allow",
			"Principal": "*",
			"Action": "s3:GetObject",
			"Resource": "arn:aws:s3:::www.example.com/*"
		}
	]
}
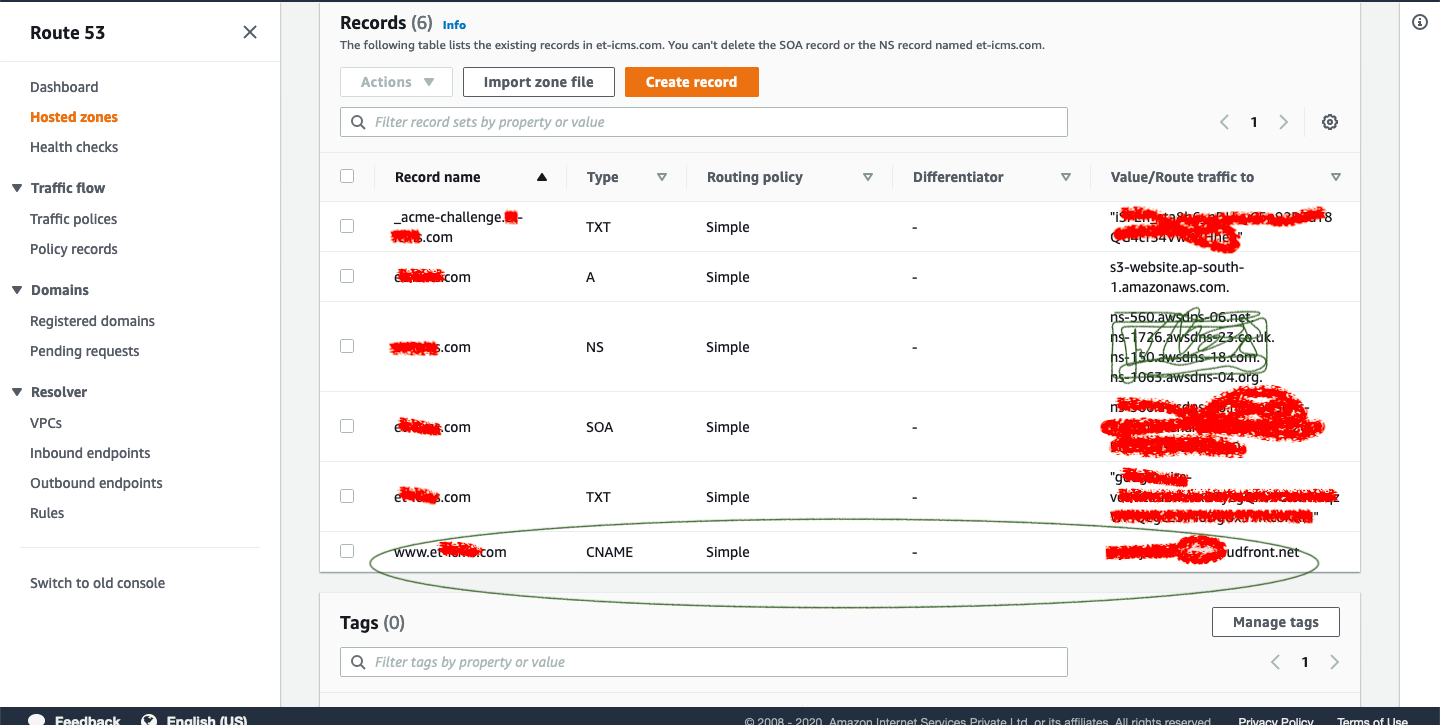
Create AWS route53 public hosted zone
Create AWS route53 public hosted zone with the same name as the domain name (Non-WWW).
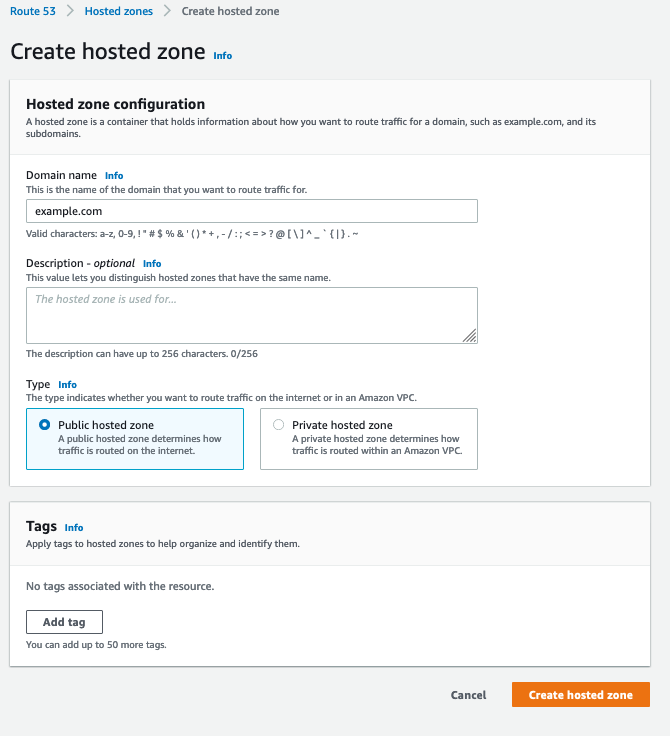
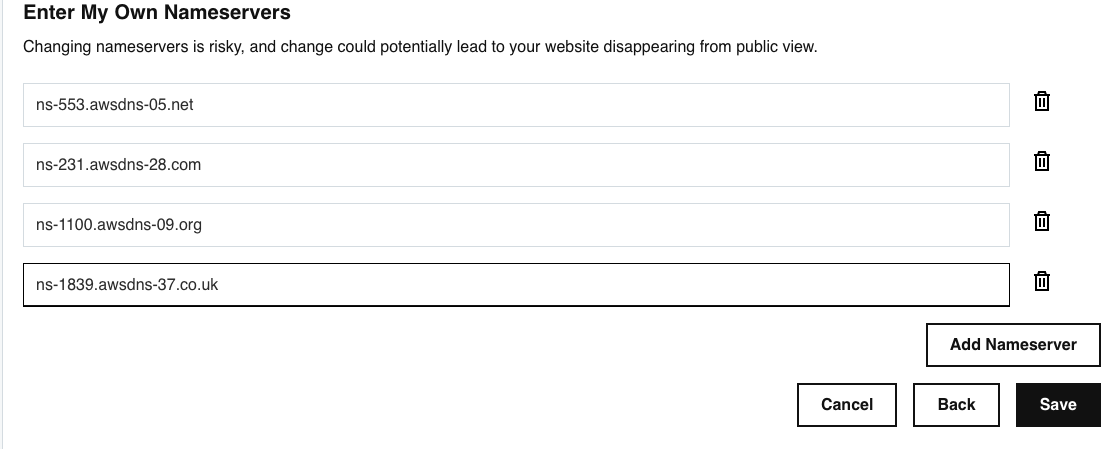
Copy the name server from AWS and Update it in GoDaddy NS [without ending dot(.)].
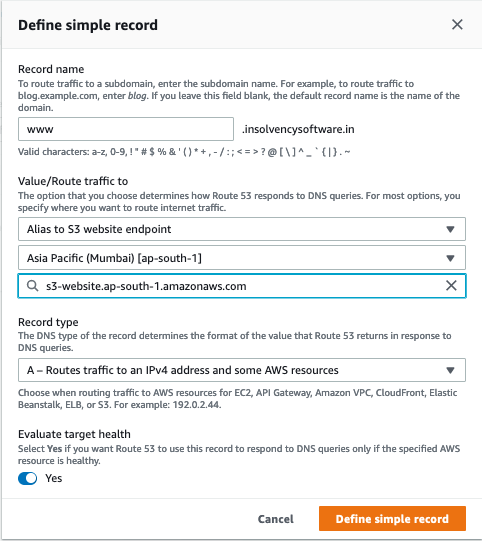
Create A Type recordset for the non-www domain

Create A Type recordset for www subdomain
Go to your browser and access the website
Generate free TLS using Let's Encrypt & add (Let's Encrypt) TLS certificates in the AWS Certificate Manager
Import certificates in N-Virginia region
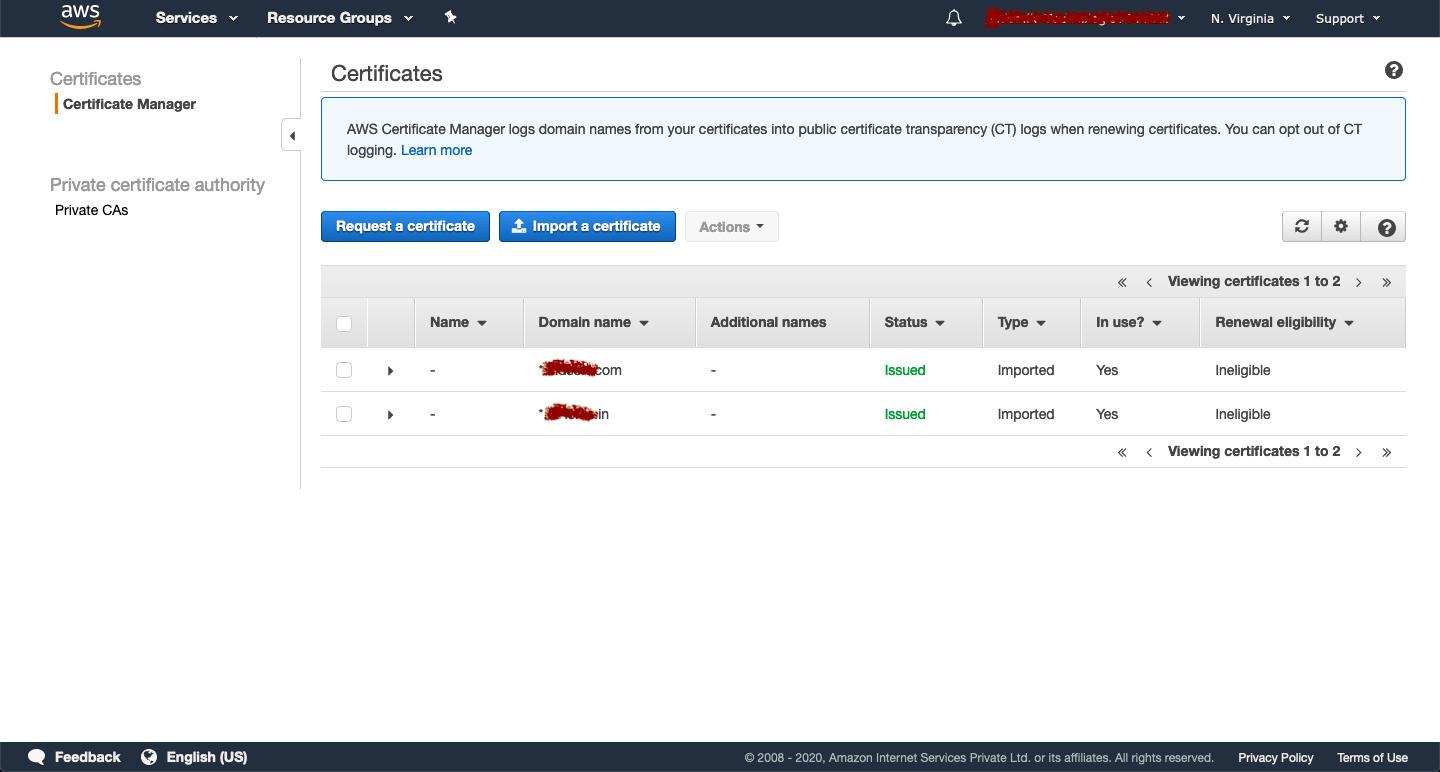
Import a certificatecert.pem to Certificate body. Use cat cert.pem in terminal to print the content of pem fileprivkey.pem to Certificate private keychain.pem to Certificate chain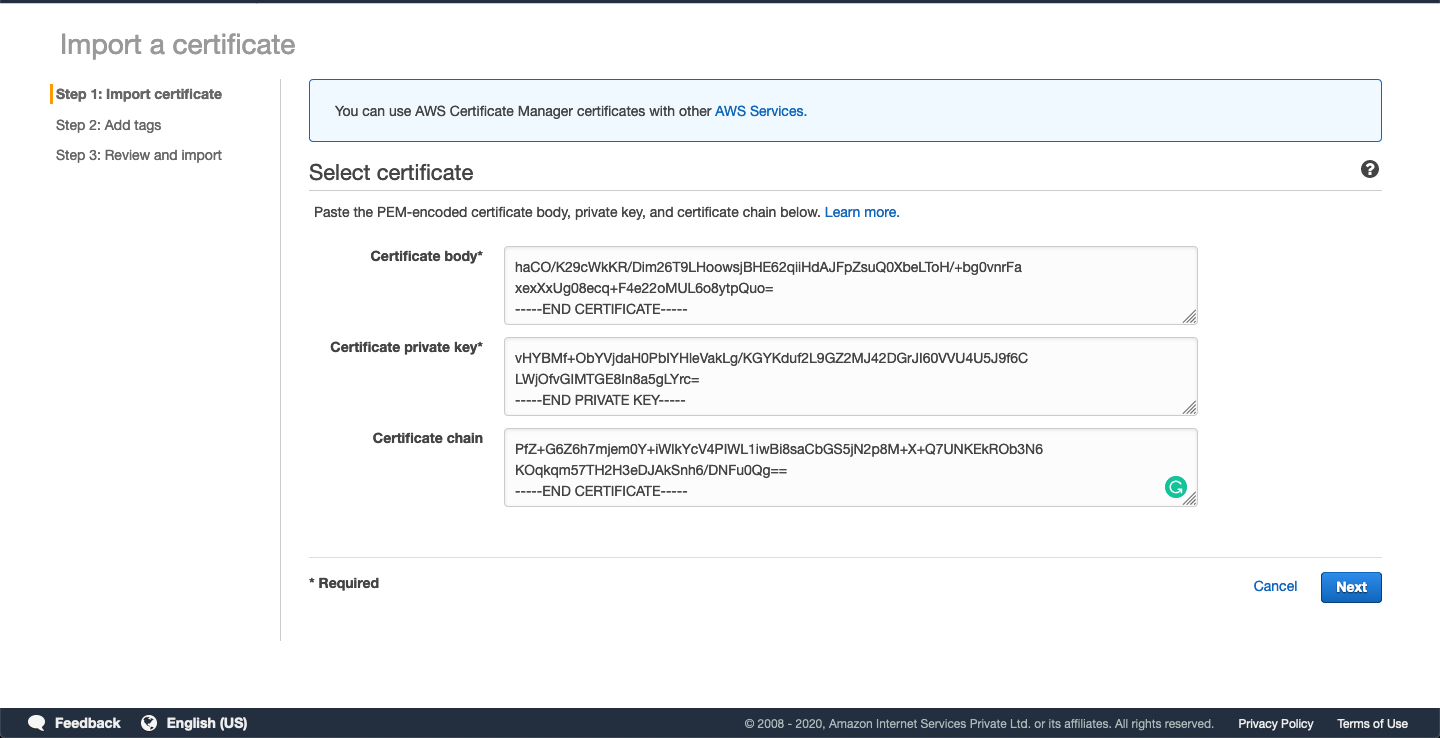

Set up Cloud Front for S3 static web site
Create distribution and again select Get Started under Web.www domain nameS3 bucket (Caution: Don't select the auto-select option) and add toOrigin Domain name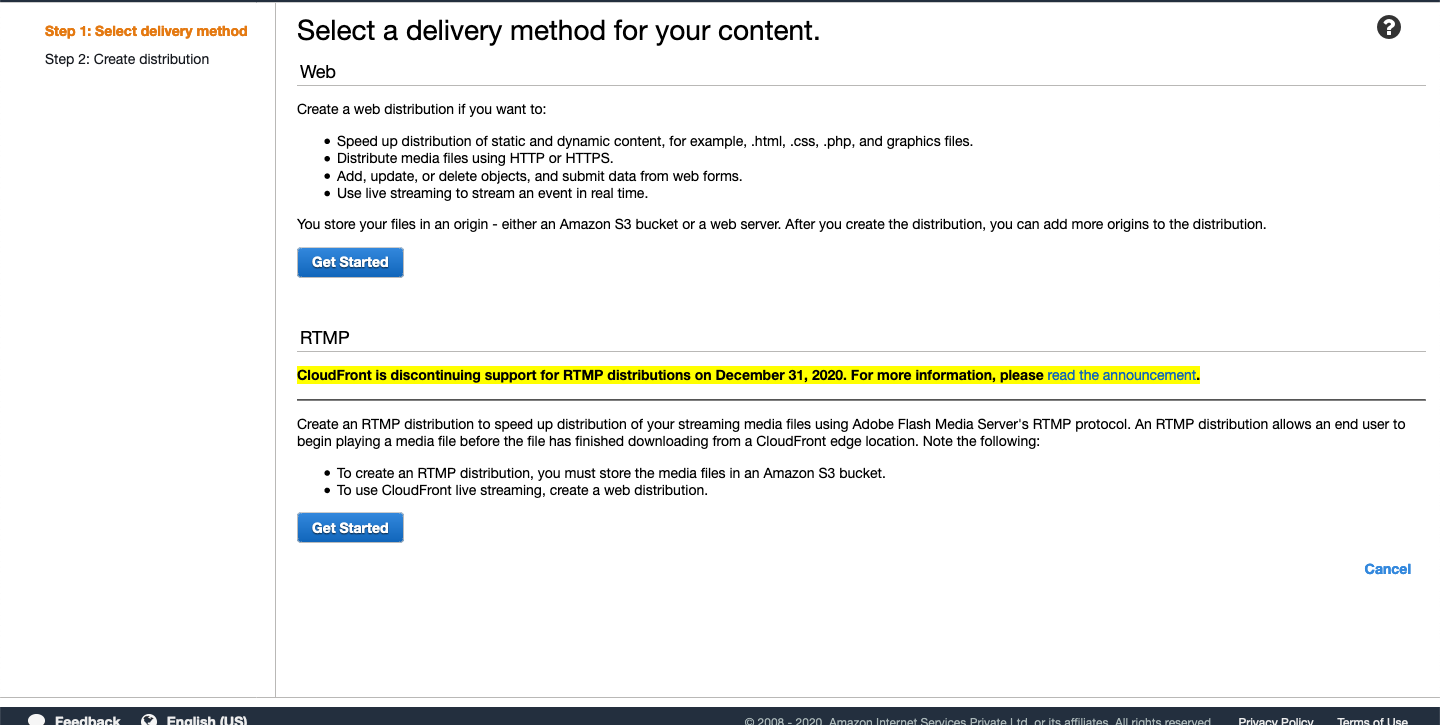
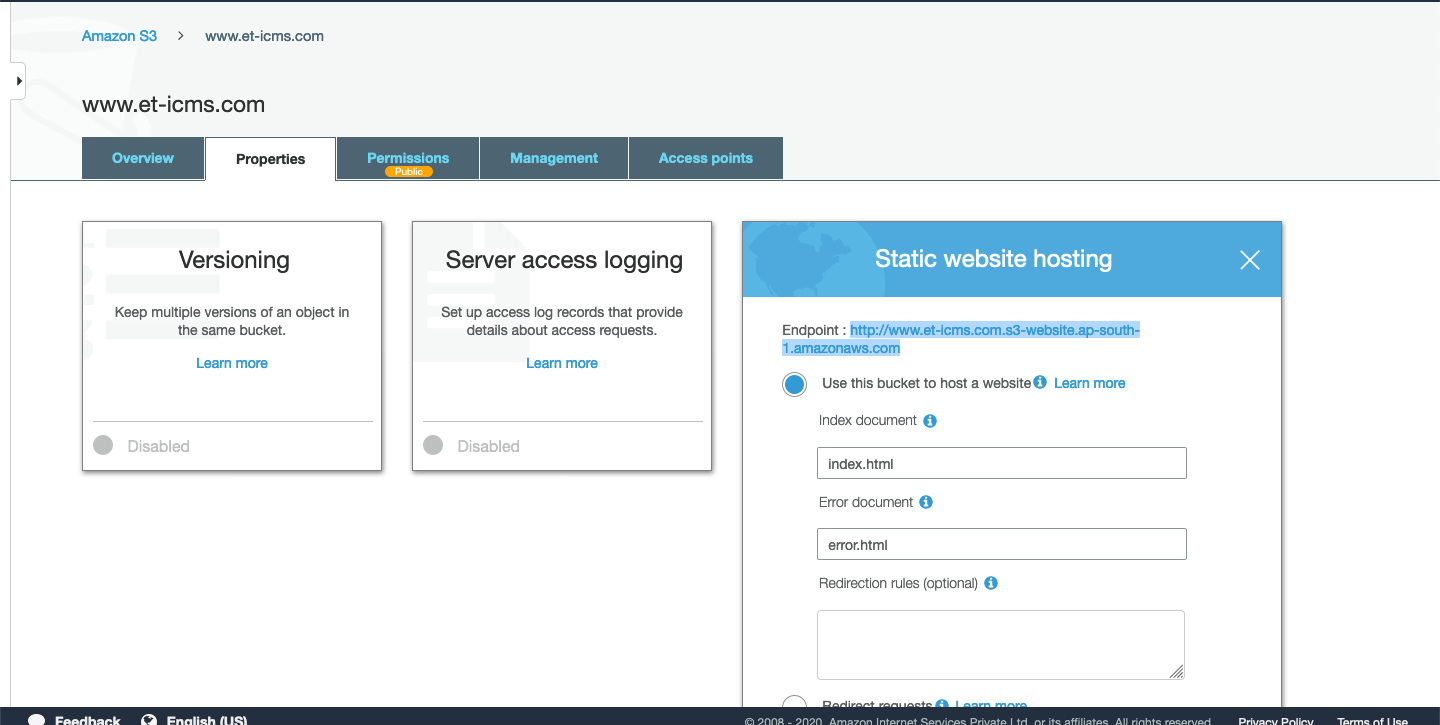
Paste the S3 WWW bucket end point in Origin Domain Name
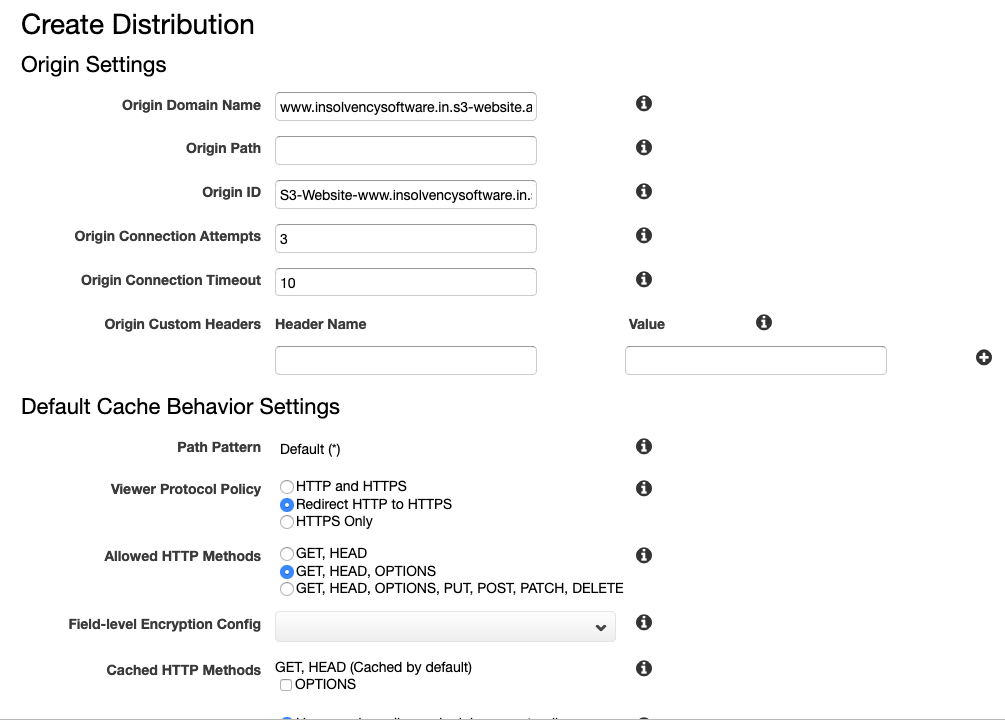
In Default Cache Behavior Settings -> Viewer Protocol policy select Redirect HTTP to HTTPS
Distribution Settings add Alternate Domain Names (CNAMEs) ==> www.example.comSSL Certificate select Custom SSL Certificate (example.com) and select the imported certificate from the Certificate Manager
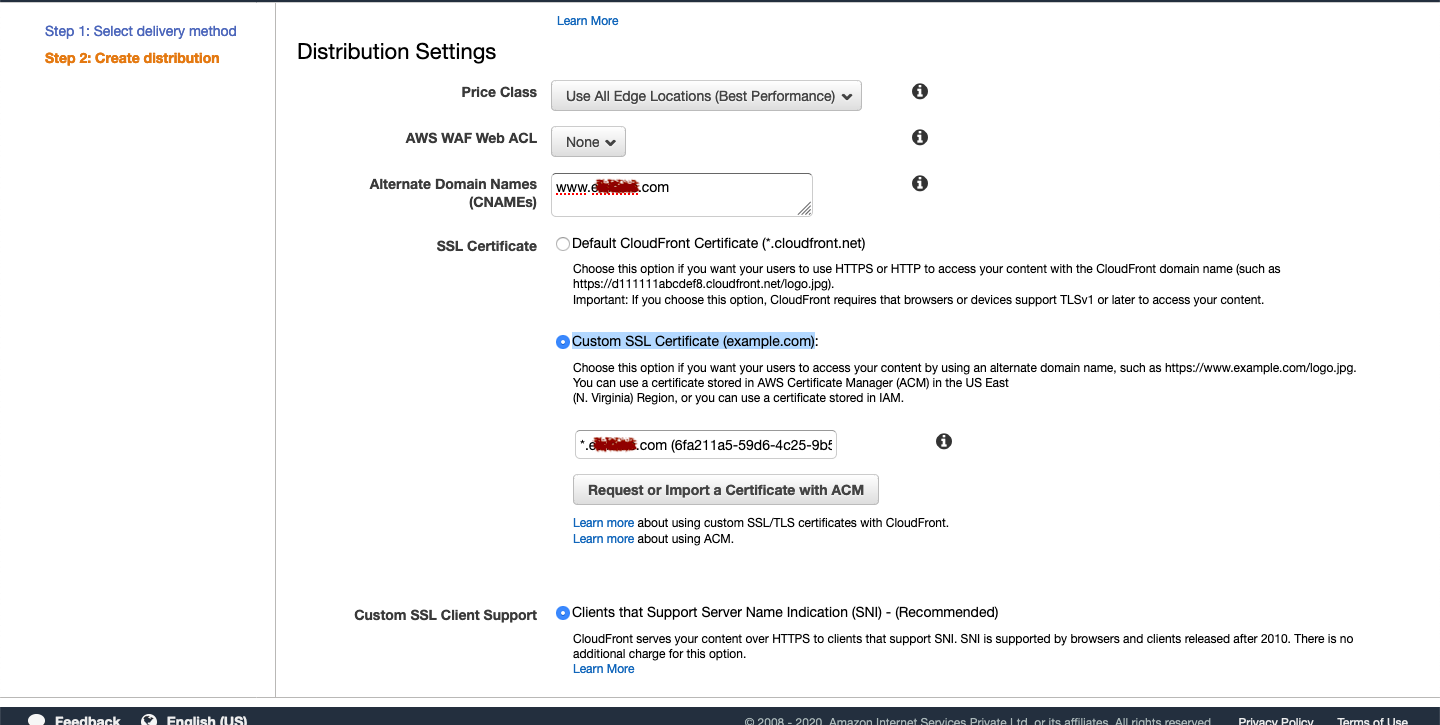
Leave everything with default configuration & create
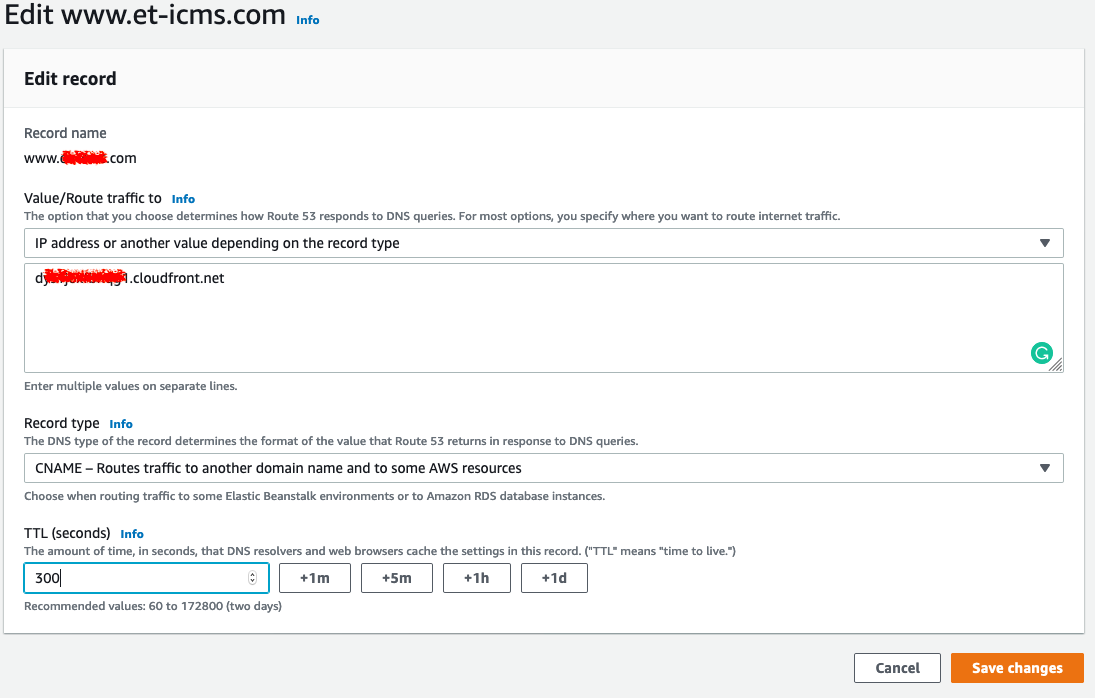
Point Domain to CloudFront
Domain Name that is displayed in the row after create
CNAME in Route53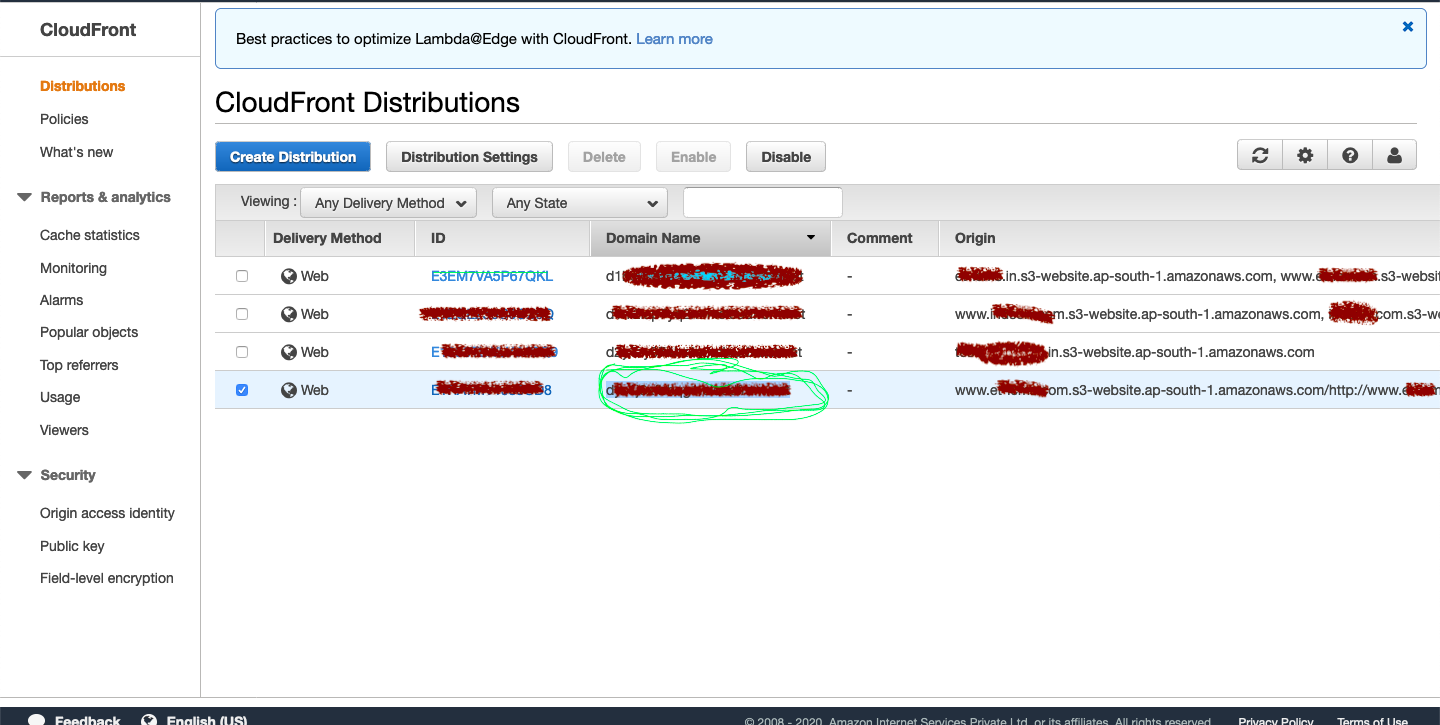
Re deployment requires clear cache
CloudFront Distributions -> "YOUR DISTRIBUTION ID" -> Invalidating -> CREATE -> Enter "/*"Key is not found will be in the origin path. Solution Clear/remove origin path
